#1
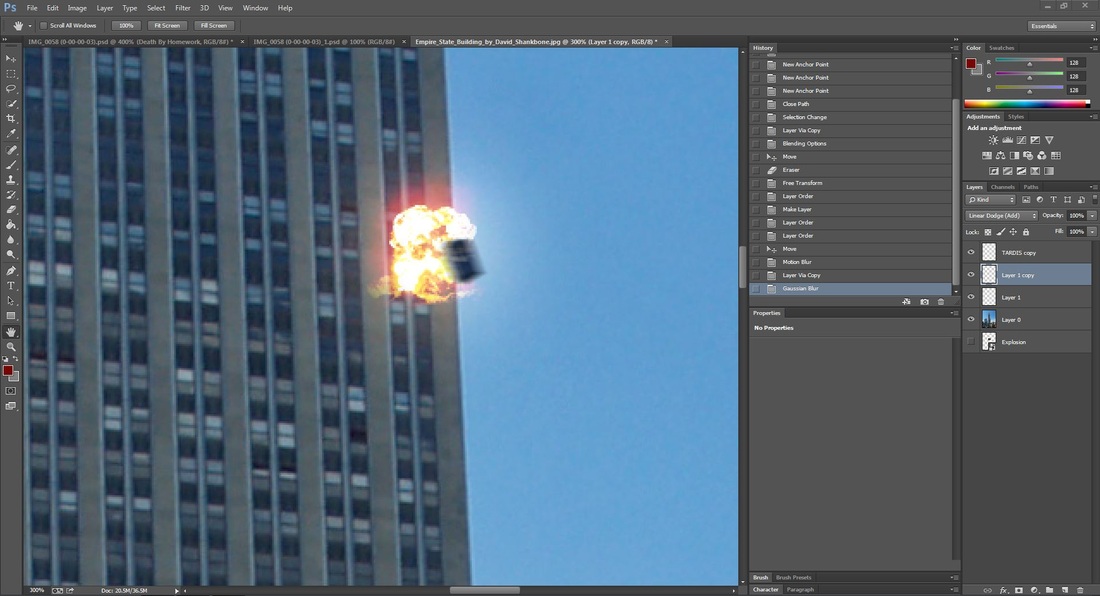
First a Tardis was masked out. Then it was placed over an image of the Empire State building. Motion blur was added through the filter panel to make it seem as if it was moving. An image of an explosion on a black background was found then placed into the scene. Unnecessary areas were masked out then the blending mode was set to Add to remove the black background.
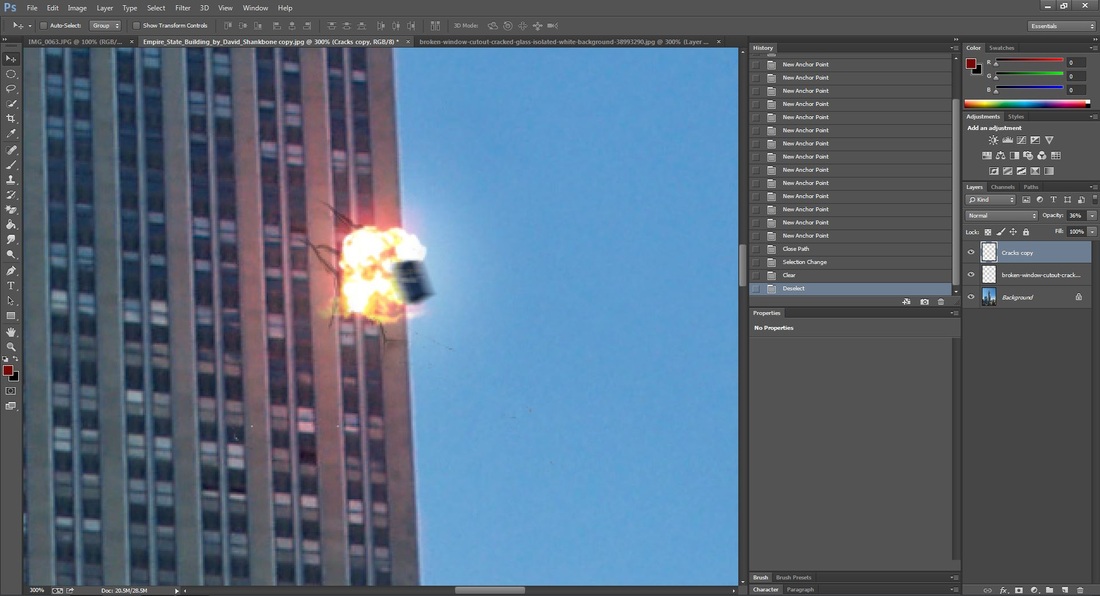
A major problem occurred. The file is too big to save onto a school computer. Instead, it was simply saved as a .jpg. This makes adding things below the preexisting areas harder. First a picture of broken glass was found. After removing the background and scaling it, it did not look like glass anymore. The glass was then scaled and rotated to look like falling debris. For the crack instead, a pre-keyed image was found of several different cracks. They were all layered together then merged. It was scaled and rotated on top of the explosion. The pen tool was then used to cut out the unwanted areas. Before the image was saved as a jpeg, some glow on the building was added. The background layer was selected and a semicircle was masked out. This area was set to the blending mode Add and color corrected red. The feather was turned up so that there were no hard edges. The edge of the building was defined using the eraser tool.
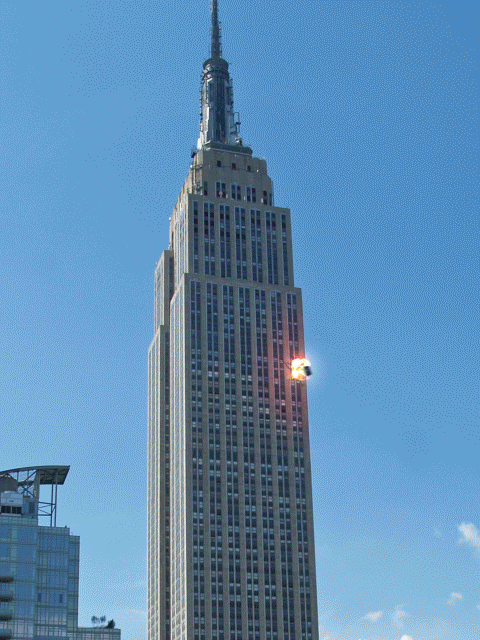
The image was then put into AE and a black layer was added. The opacity was animated and new layers were added so the image would get bigger. The video was then exported into .avi. The video was then opened into PS then saved to web. For the sake of storage, the image's quality was greatly reduced
#2
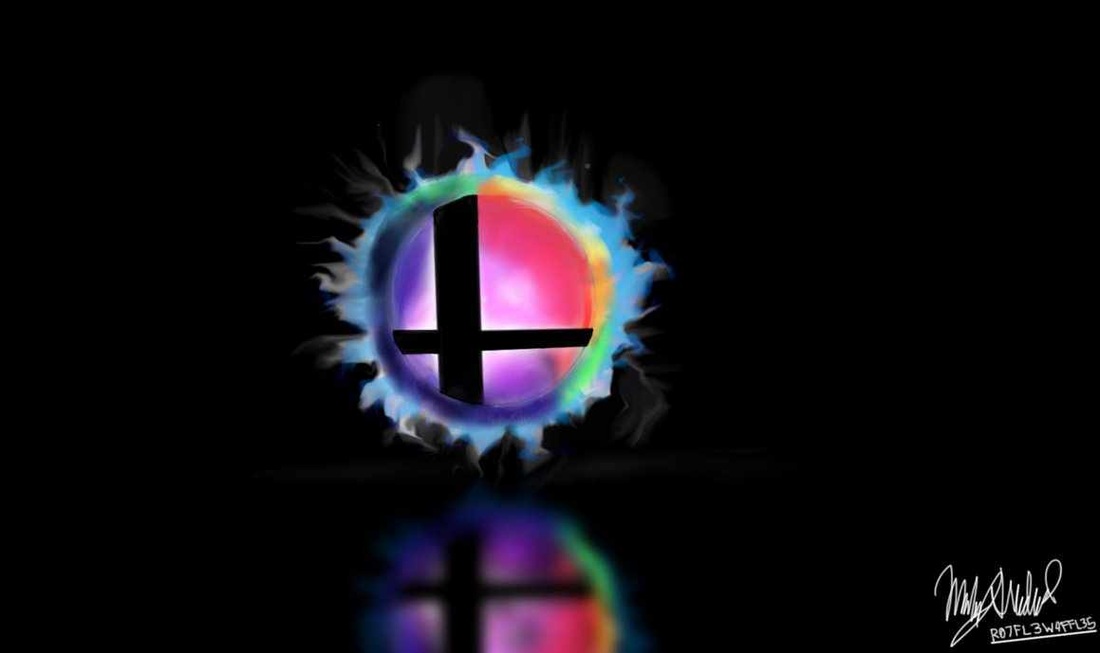
A video of me punching was first filmed. To ensure timing was perfect, it was a video. AE was used to save a single frame as a PS file. Then an image of a smash ball was found online.
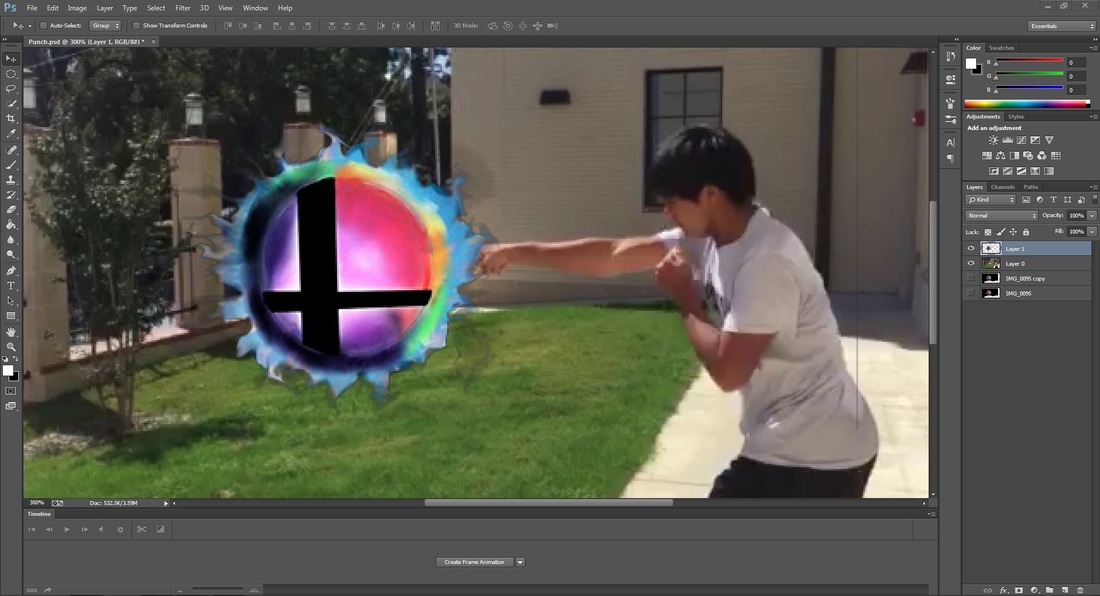
The black background was then removed form the image. The three channels were individually selected leaving out the black. The reflection and the signature were masked out. More on removing here: http://graphicssoft.about.com/od/photoshop/l/blrbps_2fwks.htm. The The black within the ball was drawn back in after removing the background.
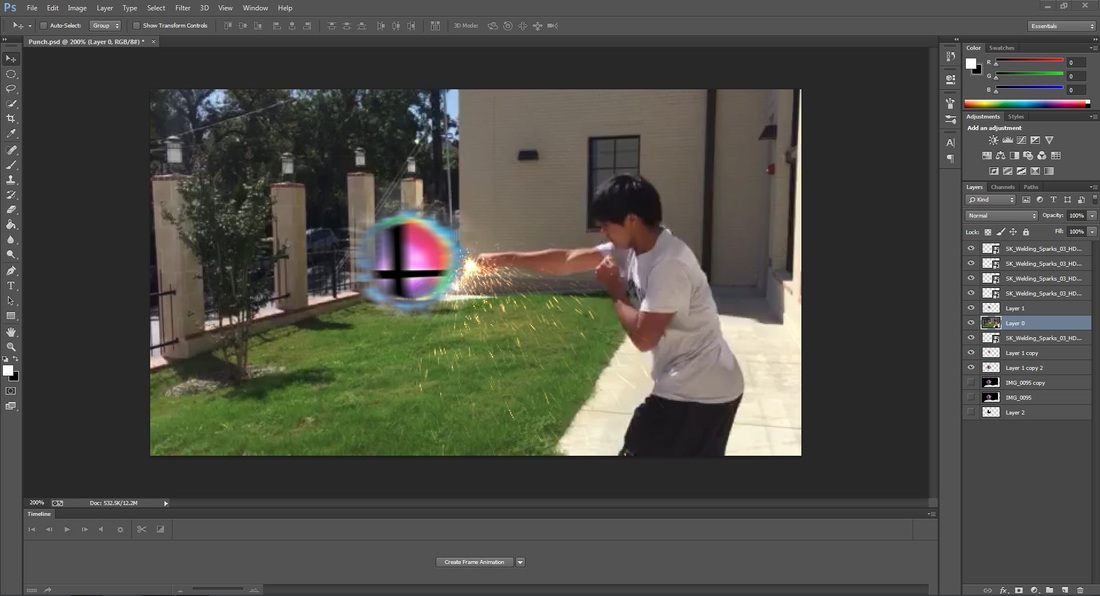
First, the smoke was changed so it looked more white. The image was duplicated then inverted, with the inverted layer beneath the top one. The black smoke was then removed to reveal the white smoke beneath. The layers were then merged. The ball was then resized and repositioned into the right area. Motion blur was added to simulate motion. Pre-keyed sparks were found online then transformed and scaled.
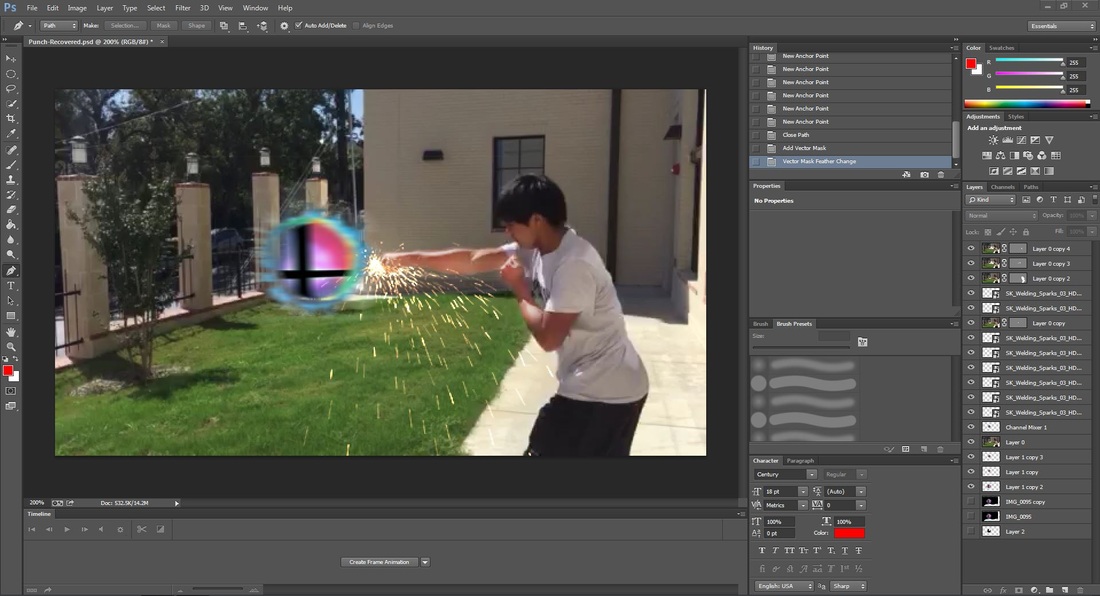
The smash ball was then color corrected a bit more to help it blend in more. The layers of the sparks were duplicated to make it look a bit hotter and crisp. The punching arm was then masked out with the pen tool and the effect Add was used. The mask feather was used to take out the rough edges. The non punching arm was also brightened a bit, not too much as to be intrusive, though. The punching arm was also masked out and placed above the sparks. The opacity was changed to look as if some sparks made it in front, but not all. This is to help sell the 3D aspect of the image.
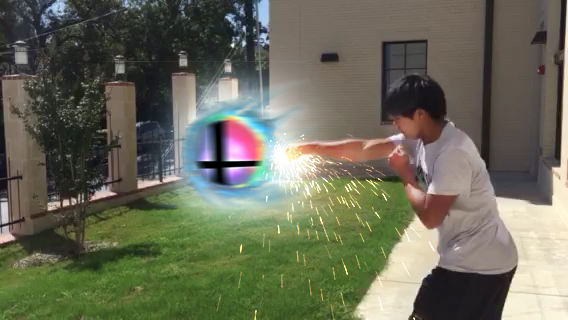
The final product. Starting with the ball, the smudge tool was used to seem as if the ball was knocked to the side by having gas go to the right. The layer was duplicated then the blending mode Add was used and Gaussian blur was added to make it look like glowing. The blurred layer was then duplicated for more effect. The glow around the sparks was added in the same way, except the Add blending mode was not used. My face was also lit up using the same technique that my arms were. The levels for the main ball was altered to make it look like it was shining a little more. The entire image was made with 25 visible layers as well as 6 hidden backup layers.
